Java Windows -
Graphical User Interface Basics
In this tutorial will will deal
with Java graphical interface building only - there will be no
mention of jMusic. Remember that working in jMusic IS working
in Java, so from time to time this diversion into programming
with no musical outcome is necessary. Please bear with us.
One of the nice aspects of
using Java is that the Graphical User Interface (GUI) code is
cross platform. It will run equally well, without change, on
any operating system that runs Java, including Windows, Mac
OS, Linux, and Solaris.
These GUI examples use the
Advanced Windowing Toolkit (AWT) based on Java version 1.1. So
make sure your Java version is at that version number or
greater. It is a very good idea to have a good Java book handy
for this section which deals with the AWT. The examples in
this tutorial are based on John Hubbard's "Programming With
java" McGraw-Hill, 1999, which is a concise and affordable
introduction to application programming in Java.
TestFrame
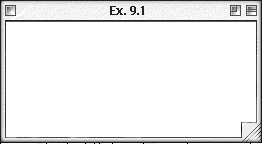
The results of this simple
class will look like this on a Mac:

The advantage of AWT is that it will
change to suit the look and feel of the Operating System. For
example, in Windows, the borders/title bar etc will take on the look
and feel of a typical Windows window.
Let's have a closer look.
import java.awt.Frame;

public class TestFrame{
         public static void main(String[] args) {
                  Frame f = new Frame("Ex. 9.1");
                  f.setSize(250,100);
                  f.setVisible(true);
         }
}
|
This class first imports the
Frame class from the AWT. Window drawing usually starts with a
frame.
The main() method creates an
instance of a Frame called 'f' and gives it a title. It next
sets the dimensions of the frame (window) and finally make
sure we can see it.
MyFrame
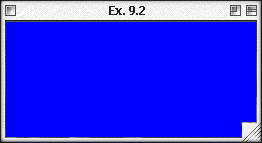
The results of this simple
class will look like this.

import java.awt.Frame;
import java.awt.Color;
public class MyFrame extends Frame{
public MyFrame(String s) {
super(s);
setBackground(Color.blue);
setSize(250,100);
setVisible(true);
}
}
class TestMyFrame {
public static void main(String[] args) {
new MyFrame("Ex. 9.2");
}
}
|
This program creates a frame
with a blue background. In the process it treats frames in a
more interesting way and uses two classes to do so.
Firstly, the Frame and Color
classes are imported.
The MyFrame class is decalared
as an extension of Frame. This means that it will inherit the
attributes of the Frame class. Most significantly we don't
need to create an instance of the Frame class directly,
rather, we create an instance of the MyFrame class. Thus there
is a MyFrame constaructor method. This takes a String argument
which is the window title. The super class (Frame) is called
with a title - this decalres the window. next the background,
sive, and visibility of the window are set.
The TestMyFrame class is a second
class which simply calls the MyFrame class and passes it a
title string.
Copy this code into a file
called MyFrame.java, compile this code two class files will be
created. Run the TestMFrame class.
ColoredFrame
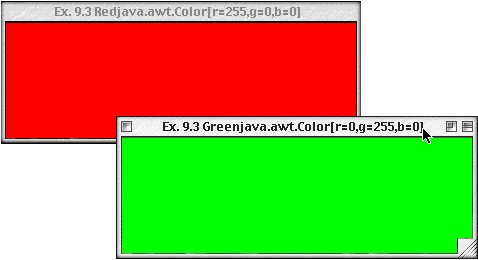
The results of this simple
class will look like this.

import java.awt.Frame;
import java.awt.Color;
public class ColoredFrame extends Frame{
public ColoredFrame(String s, Color c, int x, int y) {
super(s + c.toString());
setBackground(c);
setSize(350,100);
setLocation(x,y);
setVisible(true);
}
}
class TestColoredFrame {
public static void main(String[] args) {
new ColoredFrame("Ex. 9.3 Red", Color.red, 0, 0);
new ColoredFrame("Ex. 9.3 Green", Color.green, 100, 100);
}
}
|
This application is a small
extension of the previous one. The constructor of the
ColoredFrame class takes four arguments, title, color, width,
and height. The leverage of multiple classes can be seen in
the simplicity in the TestColoredFrame class of creating two
(in theory any number) of instances of the ColoredFrame class.
Multiple Frames and Random
Colours
In this variation on the code a
for-loop is used to create many windows, and a random function
is used to create colours and locations.
import java.awt.Frame;
import java.awt.Color;

public class MyFrame extends Frame{

    public static void main(String[] args) {
        for(int i=0; i<20; i++) {
            new MyFrame("Frame " + i);
        }
    }

    public MyFrame(String s) {
        super(s);
        setBackground(new Color((float)Math.random(),
                                (float)Math.random(),
                                (float)Math.random()));
        setSize(250,100);
        setLocation((int)(Math.random() * 600), (int)(Math.random() * 400));
        setVisible(true);
    }
}
|
|


